Showing posts with label canning. Show all posts

Friday, September 14, 2007

Pickled


A quick update on my pickles (see the original post here). We had a little tasting. Overall, the pickles were a success. They were flavorful, smelled wonderful and no one contracted botulism.

The only version no one was crazy about was the pickles made with cider vinegar. Everyone thought that one was too sweet. The pickling spices were not nearly as powerful as I had feared and no one had an issue with the mixture of spices. The unfermented version was good, albeit a bit too sharp for my taste.

After some discussion, everyone seemed to perfer the fermented version but we all agreed it need more flavor: more garlic, maybe more dill. I wish the pickles had been crisper. I've read there are ways to increase crispness, including adding unflavored Tums to the brine! I'll have to go back and work some more to come up with a sensational recipe. No wonder families have spent generations perfecting the pickle craft!

P.S. Thanks R for holding my pickle!

Thursday, July 19, 2007

Ketchup and relish - why not?

If pickling cucumbers, might as well make ketchup and relish too. I’ll be ready for a gourmet barbecue when the pickles are finally ready!

I happened upon an interesting relish recipe in this month’s Food and Wine and decided to give it a try along with Ball’s classic ketchup recipe. The former required a lot of chopping but was otherwise simple. I made quick work of the latter by using Pomi chopped tomatoes instead of peeling and chopping my own, an effort I don’t think pays off since canned tomatoes are often more flavorful and consistent than ones that can be found in the grocery on an average day (and let’s face it – boiling and peeling tomatoes is a pain).

Both recipes require aging in jars once canned but thankfully not as long as the pickles so I’ve been able to enjoy them already. The relish is sweet, crisp and flavorful. The ketchup is a classic tomato ketchup that’s more complex and caramel-y than our friend Heinz.

I’m planning on making some barbecue gift bags with the pickles, relish and ketchup and found some adorable tomato squeeze bottles to put the ketchup in once opened. Truth be told, finding the squeeze bottles was the inspiration behind making the ketchup. They were just too cute to pass up!

Chow chow (as printed in Food and Wine magazine)
(makes 6 quarts)

4 pounds green bell peppers, cut into 1/4-inch dice
4 pounds red bell peppers, cut into 1/4-inch dice
3 pounds green tomatoes, cut into 1/4-inch dice
4 pounds sweet onions, cut into 1/4-inch dice
One 3 1/4-pound head of green cabbage, cored and finely chopped
1/2 cup kosher salt
6 cups sugar
4 cups cider vinegar
2 cups water
2 tablespoons yellow mustard seeds
1 tablespoon dry mustard
1 tablespoon crushed red pepper
1 tablespoon celery seeds
2 teaspoons ground ginger
1 1/2 teaspoons turmeric

In a very large bowl, toss the bell peppers, tomatoes, onions and cabbage with the salt; cover and refrigerate overnight.

Drain the vegetables, discarding the liquid. In a large, heavy pot, bring the sugar, vinegar and water to a boil. Add the mustard seeds, dry mustard, crushed red pepper, celery seeds, ginger and turmeric and stir well. Add the drained vegetables and bring to a boil. Simmer over moderate heat, stirring occasionally, until the relish is thick and saucy, about 1 hour. Pack the chow chow into 6 hot 1-quart canning jars, leaving 1/2 inch of space at the top, and close with the lids and rings.

To process, simmer the jars at 180° for 30 minutes and monitor the water temperature with a thermometer. Store the jars in a cool, dark place for at least 2 weeks before serving, to allow the flavors to meld; store unopened for up to 1 year. Refrigerate after opening.

Tomato ketchup (Ball Blue Book of Preserving)
(yield: about 3 pints)

4 quarts chopped, peeled, cored tomatoes (about 24 large)
1 cup chopped onion (about 1 medium)
½ cup chopped sweet red pepper (about ½ medium)
1 ½ teaspoons celery seed
1 teaspoon whole allspice
1 teaspoon mustard seed
1 stick cinnamon
1 cup sugar
1 tablespoon salt
1 tablespoon paprika
1 ½ cups vinegar

Combine tomatoes, onion, and pepper in a large saucepot. Cook until tomatoes are tender. Purée using a food processor or food mill. Cook purée rapidly until thick and reduced by one-half. Tie whole spices in a spice bag. Add spice bag, sugar, salt and paprika to tomato mixture. Simmer 25 minutes, stirring frequently to prevent sticking. Remove spice bag. Ladle hot ketchup into hot jars, leaving ¼-inch headspace. Adjust two-piece caps. Process 10 minutes in a boiling-water canner.

Tuesday, July 03, 2007

Pickle palooza!

Some time ago I got it into my head that I wanted to try making and canning pickles. It may have been the canning class I took last year or the fact that my sister tried once and ended up with horrible tasting pickles – both of which made me determined to figure out the best process and the best recipe to accomplish the task at hand.

I’ve been searching the Internet and asking around, collecting recipes to try out while waiting for cucumber season. Technically, pickling cucumbers should peak in August, but they’ve been making a limited appearance at farmers’ markets lately, and I couldn’t wait to buy some and give pickling a go. What’s more, I figured I’d prepare some in time for a July 4th cookout which seemed like optimal timing for a pickle tasting.

After understanding the basic processes and main ingredients for dill pickles, I decided that there were three main variables to fiddle with to get to the best sense for the optimal recipe: 1) type of vinegar (apple cider or white), 2) whether “pickling spices” (a highly variable concoction of spices) are included and 3) whether the pickles are “fresh packed” or fermented. There are some other finer variables at play as well: whether whole bay leaf is added; whether a dried, hot, red chile pepper is added; and whether a clove of garlic is included. But these seemed secondary to the three main considerations that I felt would have the most significant impact on taste.

There are probably as many tweaks to the dill pickle recipe out there as there are cucumbers. Some dill recipes struck me as not strictly compliant with the USDA’s most recently recommended canning procedures. To be safe, I decided to use the Ball Blue Book of Preserving recipe for dill pickles (calling for pickling spices) as my base case for half the cucumbers. In the brine, I swapped cider vinegar for white vinegar in half the jars. I varied Ball’s “hamburger pickle” recipe for the other half of the cucumbers (again, half with white vinegar, half with apple cider vinegar). Ball’s hamburger pickle recipe called for the same dill weed and mustard seed to be added to each jar – and added peppercorns – but did not call for garlic, bay leaf or a dried red pepper which I decided to add back (the red pepper might addition may have been a mistake, but I wanted to hold most of the spices constant across recipes).

In terms of pickling spices, my sister blamed her disaster on McCormack blend pickling spices which added a sweet, somewhat cinnamon-y flavor – an insult to the classic dill pickle. Having trouble finding a commercial alternative, I asked a chef at a Dean and Deluca store for a small quantity of their pickling spices which they graciously allowed me to purchase.

Last, I did a lot of research on fermenting and determined that the safest, cleanest way for me to ferment pickles was to buy a special fermenting crock pot which would assure that the pickles remain submerged during the process and remove any concerns about the food safety of other containers. I found a mail order source for a nifty looking crock pot and am expecting the delivery shortly. In the meantime, I commenced with “fresh pack” recipes. Fermenting is a slow (3 to 4 weeks) and high maintenance process (“scum” must be removed from the surface daily and a temperature between 70˚F and 75˚F must be maintained): I’m very curious to see whether the effort produces superior flavor or just more work.

Much to my dismay, upon reading the fine print, even though the pickles are “fresh pack”, they must remain in the processed jars for 4-6 weeks to develop optimal flavor. What started out as an idea for the Fourth of July will have to wait for a Labor Day barbecue!

I also learned something else which I only caught mid-stream: apparently for pickles (and unlike all other vegetables), processing time is measured from the time the jars hit the boiling water canner vs. when the water in the canner begins to boil; meaning that they are in the canner for less time than the instructions would typically imply. This is in an effort to prevent loss of crunchiness. Ugh! Why was this in the beginning of the chapter and not noted in the recipe itself? The result of this late discovery is the first couple batches of pickles are a little shriveled and probably not as crunchy as they could be. We’ll have to discount the crunch factor in the recipe judging.

Stay tuned for an update in 4-6 weeks of which method and which recipe produce the best results!


Dill pickles (from Ball Blue Book of Preserving)
(Yield: about 7 pints or 3 quarts)

8 pounds 4-6 inch cucumbers, cut length-wise into halves
¾ cup sugar
½ cup canning salt
1 quart vinegar (white or cider vinegar, 5% acidity)
1 quart water
3 tablespoons mixed pickling spices
Green or dry dill (1 head per jar)

Wash cucumbers; drain. Combine sugar, salt, vinegar and water in a large saucepot. Tie spices in a spice bag; add spice bag to vinegar mixture; simmer 15 minutes. Pack cucumbers into hot jars, leaving ¼ inch headspace; put one head of dill in each jar. Ladle hot liquid over cucumbers, leaving ¼ inch headspace. Remove air bubbles. Adjust two-piece caps. Price pints and quarts 15 minutes in a boiling water canner. (note: start counting from the minute jars hit the boiling water canner).

Recipe variation: For Kosher-style dill Pickles add 1 bay leaf, 1 clove garlic, 1 piece hot red pepper and ½ teaspoon mustard seed to each jar. Process as recommended.

Hamburger dills (adapted from Ball Blue Book of Preserving’s Hamburger Dill recipe)
(Yield: about 7 pints)

4 pounds 4 inch cucumbers
6 tablespoons canning salt
4 ½ cups water
4 cups vinegar (white or apple cider, 5% acidity)
14 heads fresh dill
3 ½ teaspoons mustard seed
14 peppercorns
1 clove garlic for each jar
1 small dried red pepper for each jar
Optional: 1 bay leaf for each jar

Wash cucumbers; drain. Cut cucumbers into ¼ inch crosswise or lengthwise slices, discarding blossom ends (I just sliced once lengthwise). Combine salt, water, vinegar in a large saucepot; bring to boil. Pack cucumbers into hot jars, leaving ¼ inch headspace. Add 2 heads of dill, ½ teaspoon mustard seed, 2 peppercorns, 1 cove garlic, 1 dried red chile, and 1 bay leaf (if using) to each jar. Ladle hot liquid over cucumbers, leaving ¼ inch headspace. Remove air bubbles. Adjust 2 piece caps. Process 15 minutes in boiling water canner. (note: start counting from the minute jars hit the boiling water canner).

Note: all fresh pack pickles should stand for 4 to 6 weeks after processing to cure and develop satisfactory flavor.

Wednesday, October 04, 2006

Apricot jam


Ok. I’m back. Time to resume non-canine activities. I was thinking about which recipe to post this week and thought I’d post one that you can enjoy for a long time . . . jam!

I took a canning class at the Culinary Institute recently. The average age of the class was rather high – I guess canning is an old fashioned and somewhat quaint pursuit. I have always been interested in canning – more for the endless gift-giving opportunities it affords than for preserving out-of-season items, but have not tried it for fear of poisoning my gift recipients. It seems improper canning could easily result in botulism and lead to certain death – oh my! So I took a class to learn proper methods and handling and am now cautiously optimistic about my ability to impart joy without harm.

I always thought canning required a lot of equipment and space, but actually you need relatively few items – at the most basic level, proper canning jars and lids and a pot large enough to fill with enough water to cover the jars by several inches. We concentrated on canning high-acid foods (pH value 4.6 or lower) which require heat processing to 212 degrees Fahrenheit and can therefore be processed using a simple boiling water canner for a specified period of time. Low acid foods must be processed at temperatures of 240 degrees Fahrenheit to destroy harmful bacteria and follow an entirely different process which is more involved and was not covered in our class. High-acid foods include fruits, jams, jellies, pickles, relishes, chutneys, vinegars, etc.

Canning requires precisely following a strict set of directions that cannot be altered by the novice. This means adhering to the exact sugar content and jar size specified in the recipe as both are exactly related to the processing time specified.

I recently read a great blog post on the process on Andrea’s Recipe Box which I will reference so as not to repeat the same information available there.

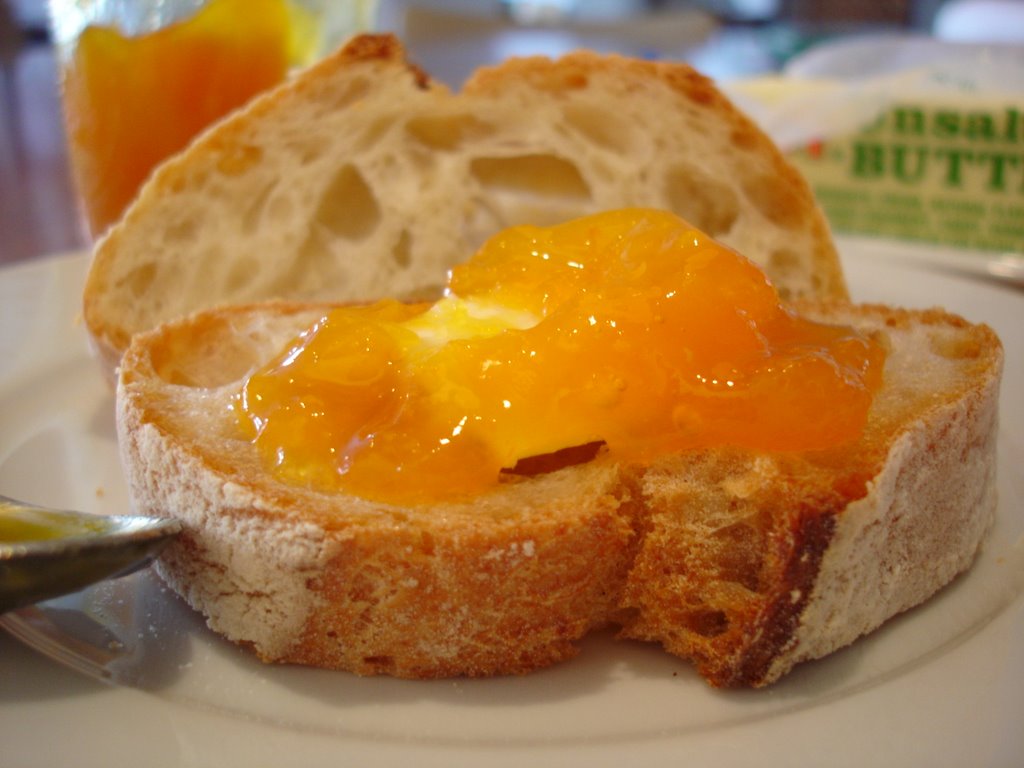
My favorite recipe was for Apricot Jam which is my all-time favorite jam. I’m excited to buy Ball’s Blue Book of Canning (see my sidebar for an Amazon link) to explore more great recipes and ideas. Even if you don’t want to venture into canning, you can obviously make the jam and refrigerate it for a few weeks. If you decide to can, your jam will keep for a year in a dark, cool place.

Apricot Jam
(Makes about 4 pints)

2 quarts pitted and crushed apricots (no need to chop – large pieces will reduce to a nice size and provide great texture)
2 cups dried apricots, roughly chopped
¼ cup lemon juice
2 cups granulated sugar

Combine fresh apricots, dried apricots and lemon juice in a large pot over medium heat. Gradually stir in sugar and increase heat to high, stirring frequently until thick. Ladle hot apricot jam into hot jars, leaving ¼ inch headspace. Remove air bubbles, adjust lids and process 15 minutes in boiling water canner.